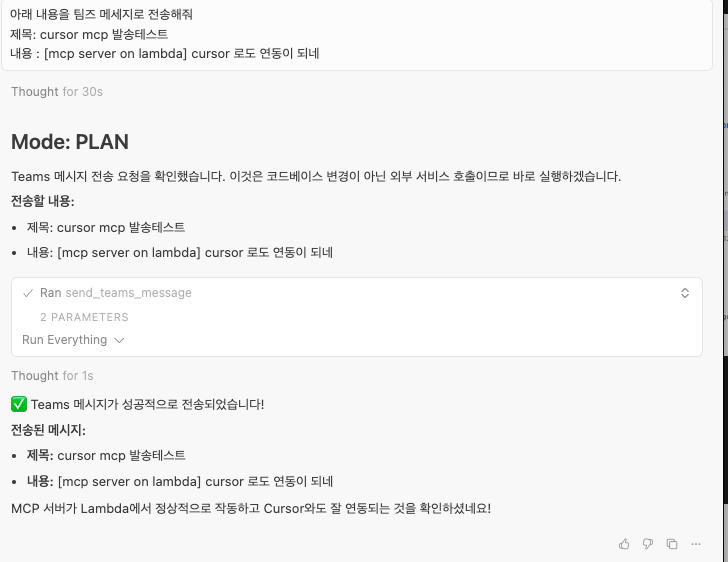
요즘 AI 가 발달하면서 생겨난 일명 "바이브 코딩" 이라는 기술로, 아이디어만 있으면, 누구나 개발이 가능한 환경이 갖춰졌다.
나 역시도 마찬가지로 바이브 코딩으로 하고 싶었던 주제로 서비스를 만들어보기도 하고, 툴을 만들면서 내 업무의 생산성을 높이고 있다.
오늘 다룰 Github Action 이라는 주제와 맞지 않는 서문일 수 있지만, 우리가 만든 개발물은 결국 Git 을 통해 형상관리를 해줘야 손이 덜 가게 된다는 것을 느낄 것이다.
Github 는 Git 을 온라인 호스팅으로 서비스하고 있는 솔루션으로 보면 되고, 마이크소프트 산하의 제품이다.
Github 든 GitLab 이던 Repository 를 만들어 코드를 관리하고 있다면, 매번 새로운 Commit, Merge 가 일어날 때마다 서버에 진입하며 코드를 최신화 ($ git pull) 하고 서비스를 재시작 해야 할 것이다.
보통은 이 과정들을 Script 로 만들고, Jenkins , GoCD 와 같은 CI/CD 서비스 를 이용하여 Git 에 커밋이 발생할 때 자동으로 배포하게 만든다.
Github Action 도 비슷한 기능이 있어, 아래 소개한다.
- 준비
- 서비스 자동화 스크립트
- 서비스 자동화 스크립트가 배포된 EC2 서버
- 시나리오
- 서비스 서버에 배포용 SSH 키페어를 생성한다.
- 생성된 공개키를 서버의 authorized_keys 에 추가한다.
- Github Secrets 설정에서 원격 서버의 정보를 저장한다.
- workflow yaml 파일을 작성한다.
- Git Action 에서 워크플로우를 실행한다.
전체 과정
1. SSH 키 생성 및 설정
먼저 로컬에서 SSH 키 페어를 생성
ssh-keygen -t ed25519 -C "github-actions"
생성된 공개키(id_ed25519.pub)를 서버의 ~/.ssh/authorized_keys에 추가, 개인키(id_ed25519)는 일단 복사한다.
2. GitHub Secrets 설정
Repository → Settings → Secrets and variables → Actions에서 다음 정보들을 등록
SSH_PRIVATE_KEY: SSH 개인키 내용 (1번 과정에서 복사한 개인키를 복사해서 붙여넣는다.)SERVER_HOST: 서버 IP 또는 도메인SERVER_USER: SSH 접속 유저명SERVER_PORT: SSH 포트 (기본값 22)

3. GitHub Actions Workflow 파일 생성
.github/workflows/deploy.yml 파일을 생성합니다:## 더 간단한 방법: marketplace action 사용
SSH 액션을 직접 작성하는 대신, 검증된 marketplace action을 사용할 수도 있습니다:
- 코드 푸시: 워크플로우 파일을 커밋하고 main 브랜치에 푸시
- Actions 탭 확인: GitHub Repository의 Actions 탭에서 실행 상태 확인
- 로그 확인: 각 step의 실행 로그를 확인하여 성공/실패 여부 파악
name: Test Workflow (여기 이름이 워크플로우 목록에 뜸)

on:
  # 수동 실행 가능하도록 설정 (테스트용)
  workflow_dispatch:

  # push할 때도 실행 (원하면 주석 해제)
  # push:
  #   branches:
  #     - main

jobs:  #워크플로우에서 실행할 작업(job)들을 정의합
  test-workflow: # 작업(job)의 고유한 이름입니다. 여기서는 '연결 테스트' 역할
    runs-on: ubuntu-latest
    # 이 작업이 실행될 환경을 지정. 최신 버전의 Ubuntu 가상 머신에서 실행
    steps:
    - name: Checkout code
      uses: actions/checkout@v4 # GitHub 저장소의 코드를 가상 환경으로 가져오는(체크아웃하는) 공식 액션(v4 버전)을 사용

    - name: SSH Connection Test
      uses: appleboy/ssh-action@v1.0.0 # SSH를 통해 원격 서버에 명령을 실행하는 서드파티 액션(v1.0.0 버전)을 사용
      with:
        host: ${{ secrets.SERVER_HOST }}
        username: ${{ secrets.SERVER_USER }}
        key: ${{ secrets.SSH_PRIVATE_KEY }}
        port: 22
        script: |
          echo "SSH Connection Test Success"
          [여기에 자동화 스크립트 실행 명령어를 넣으면 된다.]


결과
이 방법으로 코드가 푸시될 때마다 자동으로 서버에 배포하거나 특정 작업을 실행할 수 있다.
결론
- 배포 자동화는 사실 구성하기 귀찮다. 손도 많이가고, 시간도 많이 소요된다.
- 그런데 한 번 구성해놓으면, 그 후는 정말 편하다.
- 서비스 배포를 한동안 안하다가 오랜만에 하면 까먹고, 다시 기억해내려면 시간이 또 걸리거든.
'오픈 소스' 카테고리의 다른 글
| N8N 을 helm chart 를 이용해 쿠버네티스 에서 배포해보기 (2) | 2025.05.14 |
|---|---|
| N8N 오픈소스 SW의 소개와 설치 (0) | 2025.05.06 |
| 쿠버네티스(kubernetes) - kubectl 명령어 정리/모음 (2) (0) | 2025.04.08 |
| 빅데이터 생성기 - BigdataSimpleGenerator (0) | 2025.04.01 |
| GPT 를 이용해서 동영상 쇼츠 제작해보기 (0) | 2025.03.25 |


